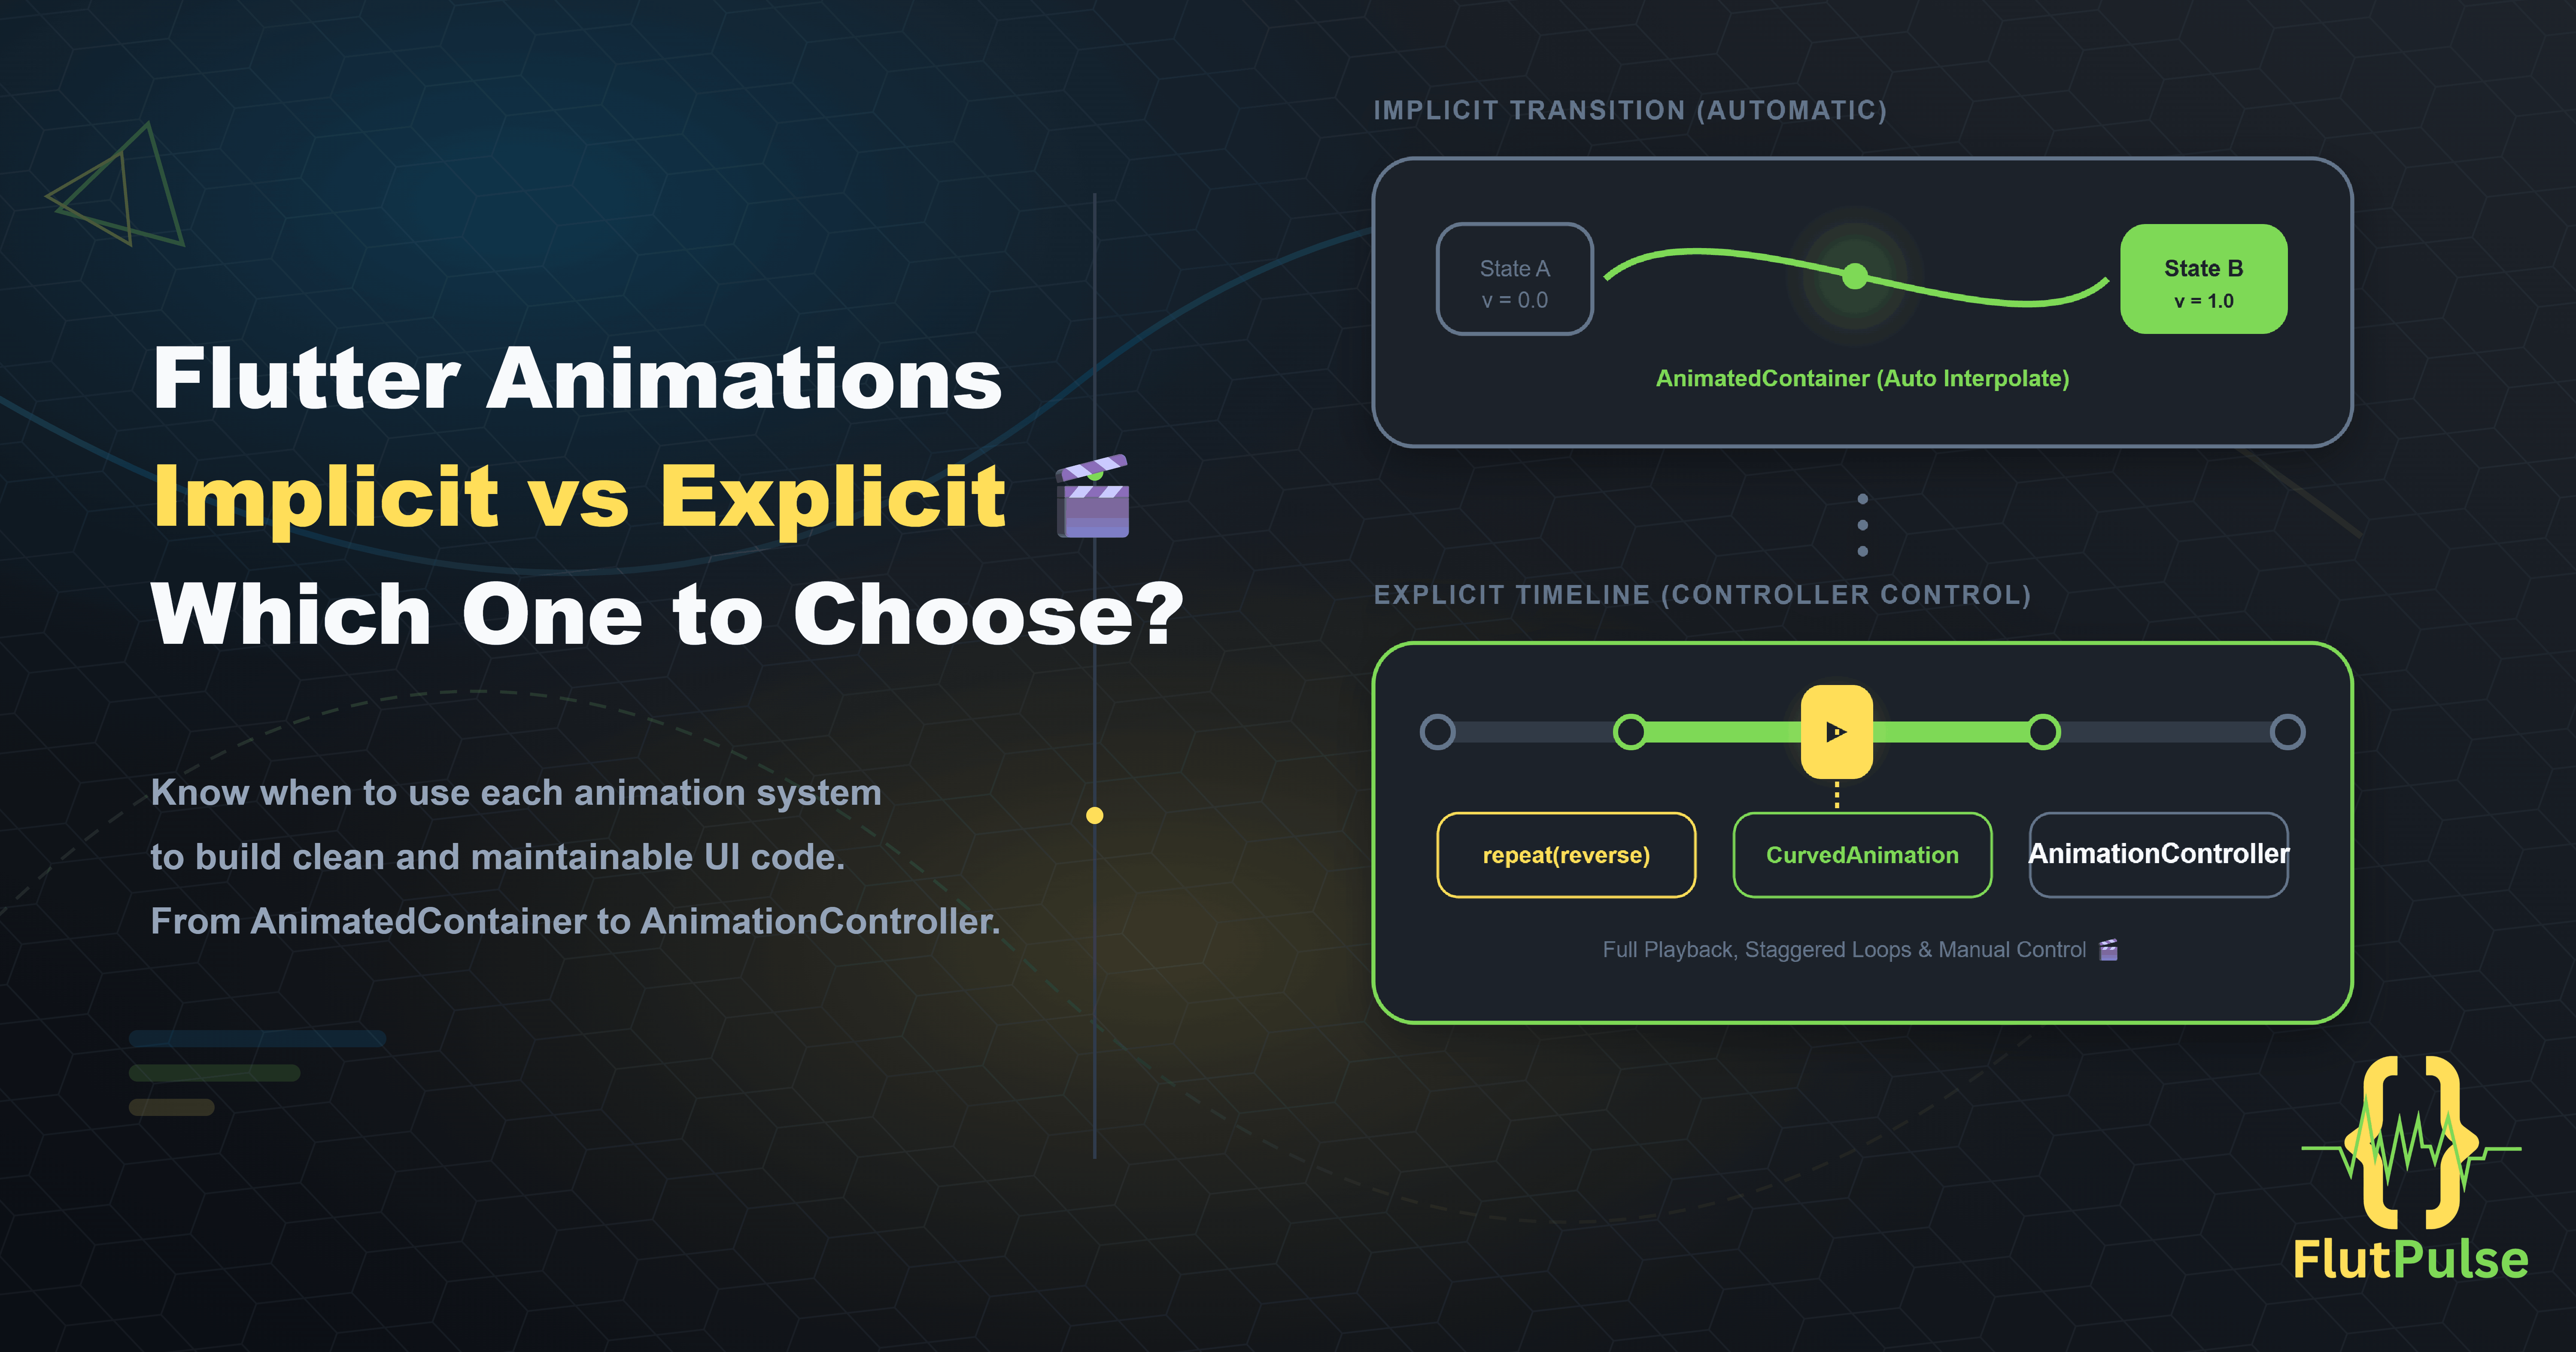
Flutter Animations: The Difference Between Implicit and Explicit 🎬
Published on: August 21, 2026
Introduction
Animation is one of Flutter’s most expressive capabilities. Done well, it communicates state changes, guides attention, and gives apps a polished, premium feel.
But Flutter’s animation system has two distinct modes, and choosing the wrong one for the wrong situation leads to code that’s either too simple for the task or unnecessarily complex.
Understanding the difference between implicit and explicit animations is a foundational skill for any Flutter developer.
Implicit Animations: Let Flutter Do the Work
Implicit animations handle the transition automatically. You tell Flutter what the final state should be, and it figures out how to get there.
Flutter provides a full suite of implicitly animated widgets, all prefixed with Animated:
AnimatedContainer(
  duration: const Duration(milliseconds: 300),
  width: _isExpanded ? 200.0 : 100.0,
  height: _isExpanded ? 200.0 : 100.0,
  color: _isExpanded ? Colors.blue : Colors.grey,
  curve: Curves.easeInOut,
  child: const FlutterLogo(),
)
When _isExpanded changes and setState is called, Flutter smoothly transitions the container from one state to the other — no controllers, no listeners, no explicit setup.
The Implicit Animation Toolkit 🧰
Flutter ships with many ready-to-use implicit widgets:
| Widget | Animates |
|---|---|
AnimatedContainer |
Size, color, padding, decoration |
AnimatedOpacity |
Visibility fade |
AnimatedAlign |
Widget alignment |
AnimatedPadding |
Padding changes |
AnimatedDefaultTextStyle |
Text style transitions |
AnimatedPositioned |
Position inside a Stack |
AnimatedSwitcher |
Crossfade between widgets |
For most UI transitions — showing/hiding elements, expanding cards, changing themes — these cover the full range of needs.
Explicit Animations: Full Control
Explicit animations give you direct control over every aspect of the animation lifecycle. They require an AnimationController, which you manage yourself.
class PulsingButton extends StatefulWidget {
  @override
  State<PulsingButton> createState() => _PulsingButtonState();
}

class _PulsingButtonState extends State<PulsingButton>
    with SingleTickerProviderStateMixin {
  late AnimationController _controller;
  late Animation<double> _scaleAnimation;

  @override
  void initState() {
    super.initState();
    _controller = AnimationController(
      vsync: this,
      duration: const Duration(milliseconds: 800),
    )..repeat(reverse: true);

    _scaleAnimation = Tween<double>(begin: 1.0, end: 1.1).animate(
      CurvedAnimation(parent: _controller, curve: Curves.easeInOut),
    );
  }

  @override
  void dispose() {
    _controller.dispose();
    super.dispose();
  }

  @override
  Widget build(BuildContext context) {
    return ScaleTransition(
      scale: _scaleAnimation,
      child: ElevatedButton(
        onPressed: () {},
        child: const Text('Subscribe'),
      ),
    );
  }
}
This level of control is necessary for animations that loop, chain, react to physics, or need to be coordinated across multiple elements simultaneously.
When to Use Each 🔀
Use implicit animations when:
- You’re transitioning between two discrete UI states
- The animation is triggered by a simple state change
- You want readable, minimal code
Use explicit animations when:
- The animation loops or repeats
- Multiple animations need to be synchronized
- You need physics-based movement (springs, friction)
- The animation is driven by gestures or scroll position
- You need to control playback (pause, reverse, seek)
The TweenAnimationBuilder Bridge
There’s a hybrid option when you need a custom animated value but don’t want to manage a controller: TweenAnimationBuilder.
TweenAnimationBuilder<double>(
  tween: Tween(begin: 0.0, end: _progress),
  duration: const Duration(milliseconds: 500),
  builder: (context, value, child) {
    return LinearProgressIndicator(value: value);
  },
)
This is implicit in that it responds to state changes, but gives you control over what property you’re animating.
Composing Complex Animations with AnimationController
For multi-stage animations, define multiple Tween objects sharing a single controller:
_controller = AnimationController(
  vsync: this,
  duration: const Duration(milliseconds: 600),
);

final fadeIn = Tween<double>(begin: 0.0, end: 1.0).animate(
  CurvedAnimation(
    parent: _controller,
    curve: const Interval(0.0, 0.5, curve: Curves.easeIn),
  ),
);

final slideUp = Tween<Offset>(
  begin: const Offset(0, 0.3),
  end: Offset.zero,
).animate(
  CurvedAnimation(
    parent: _controller,
    curve: const Interval(0.2, 1.0, curve: Curves.easeOut),
  ),
);
Using Interval, you stagger animations across a single controller’s timeline — no coordination overhead.
Conclusion
Implicit animations are the right starting point. They cover the vast majority of UI transitions with minimal code.
When implicit widgets can’t express what you need — repeating, physics-driven, gesture-synchronized, or multi-element animations — reach for explicit controllers.
The skill is knowing which tool the moment calls for, rather than defaulting to either extreme.