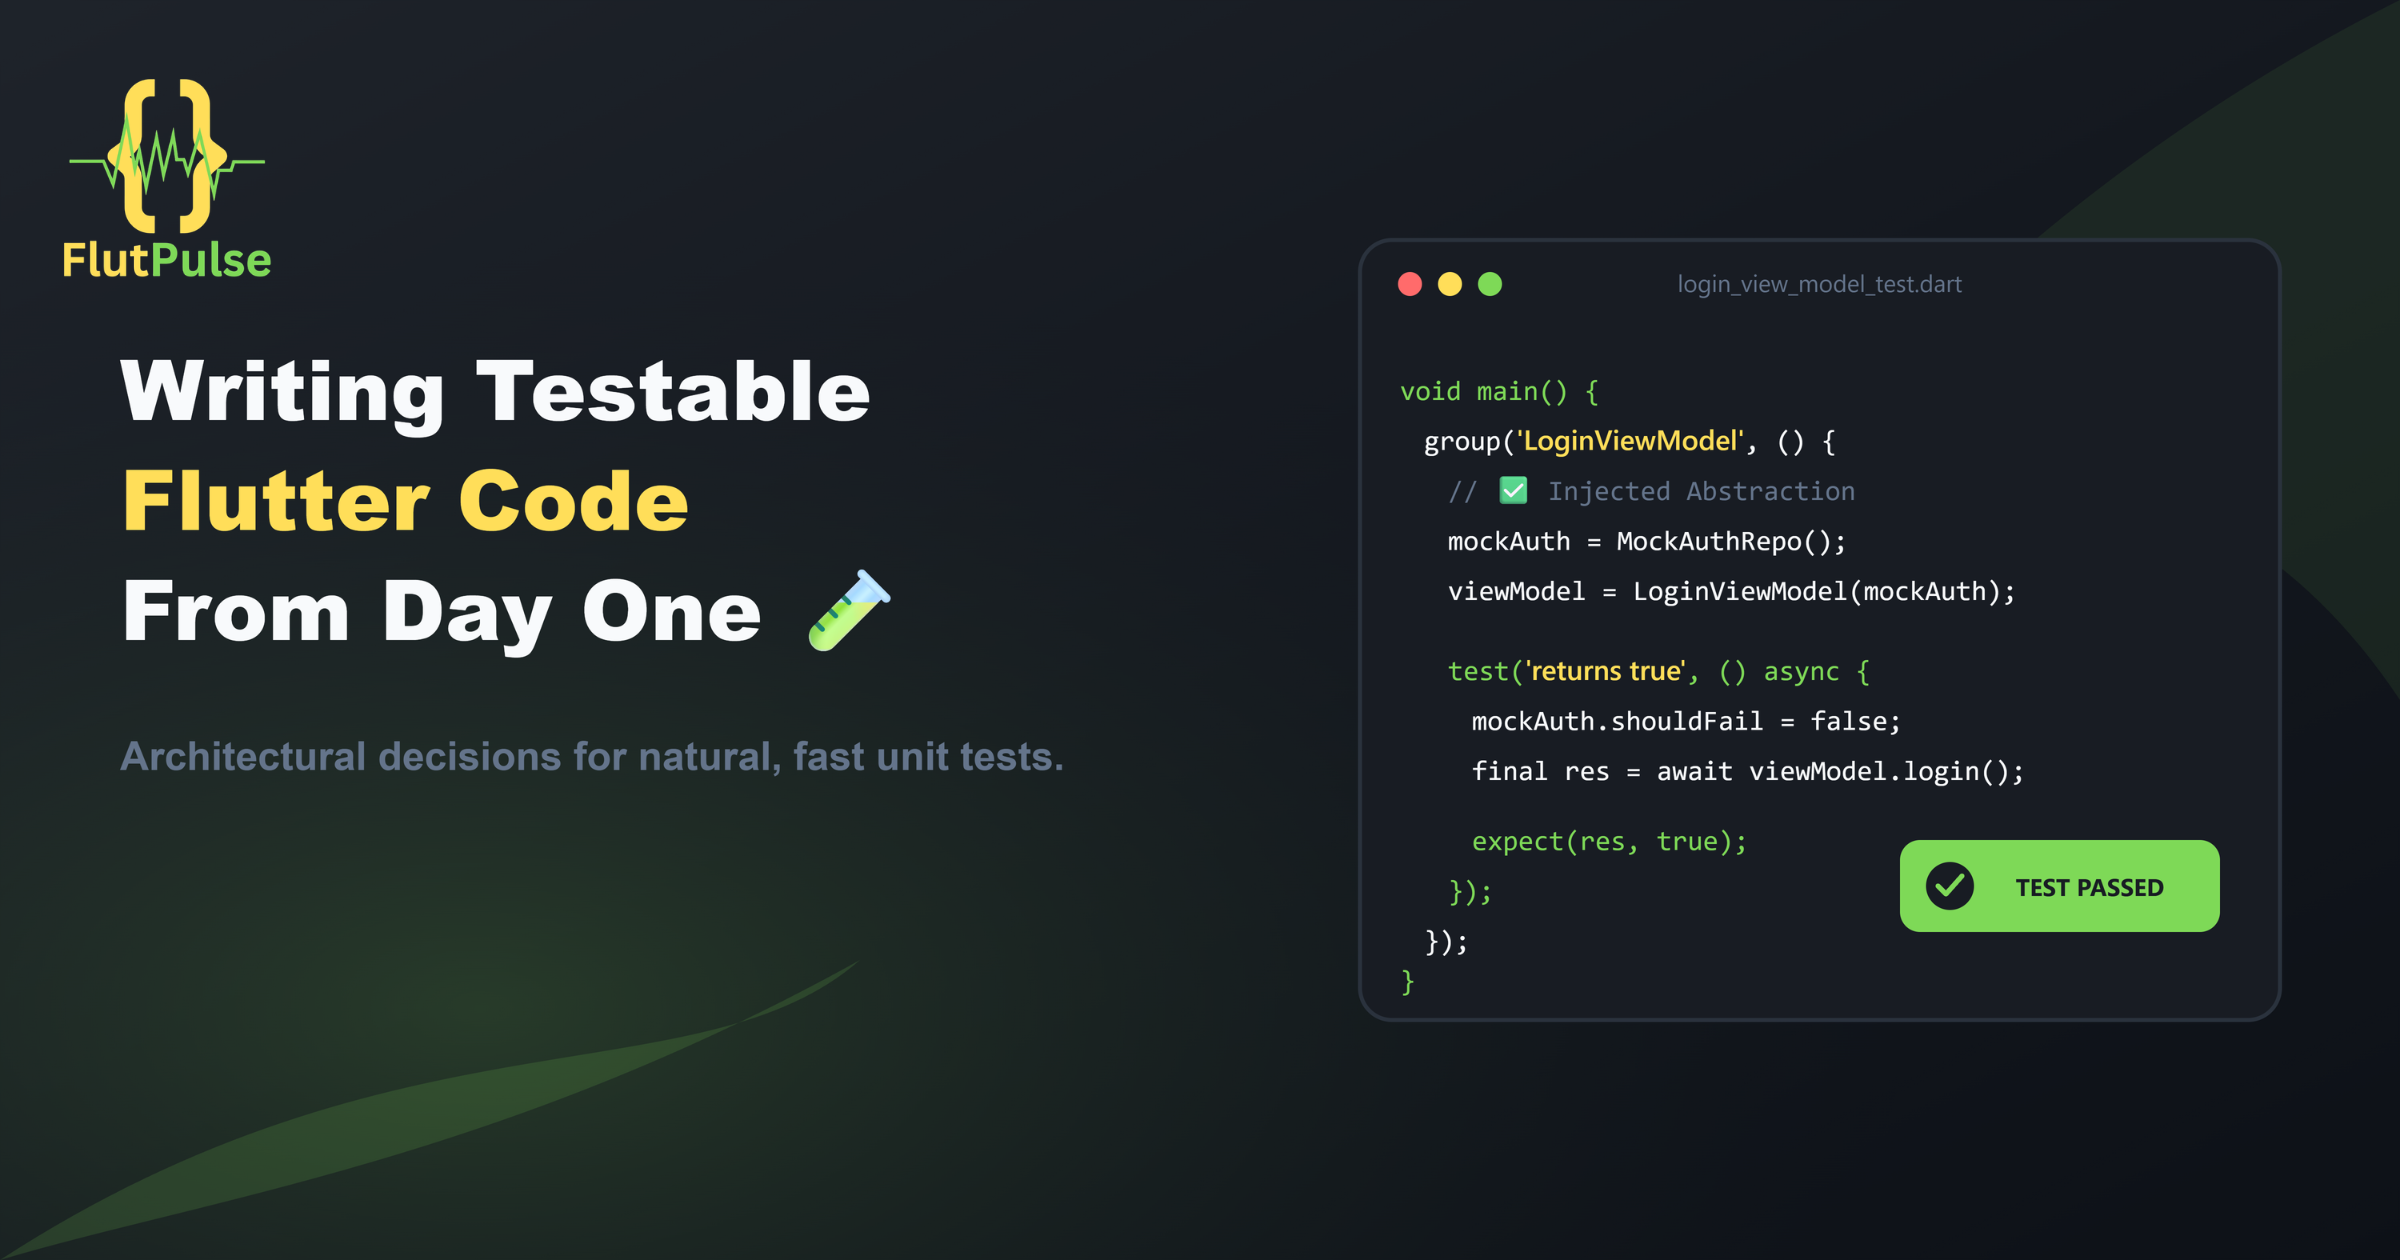
Writing Testable Flutter Code From Day One 🧪
Published on: September 08, 2026
Introduction
Most developers intend to write tests. But when they finally sit down to write them, the code isn’t testable — dependencies are hardcoded, business logic is tangled with UI, and there’s no clean way to isolate a unit.
The solution isn’t to write tests harder. It’s to write code in a way that makes testing natural.
Why Flutter Code Is Often Hard to Test
The default path in Flutter development leads to tight coupling:
// ❌ Hard to test — business logic is inside the widget
class LoginScreen extends StatefulWidget { ... }

class _LoginScreenState extends State<LoginScreen> {
  Future<void> _onLoginPressed() async {
    final response = await http.post(
      Uri.parse('https://api.example.com/login'),
      body: {'email': _emailController.text, 'password': _passwordController.text},
    );
    if (response.statusCode == 200) {
      Navigator.pushReplacementNamed(context, '/home');
    }
  }
}
To test _onLoginPressed, you need to:
- Render the full widget
- Interact with text fields
- Intercept a real HTTP call
- Assert on navigation
That’s an integration test, not a unit test. And it breaks any time the UI changes, even if the logic is correct.
Rule 1: Separate Logic from UI
Move business logic out of widgets into dedicated classes:
// ✅ Business logic in a separate ViewModel
class LoginViewModel extends ChangeNotifier {
  final AuthRepository _auth;
  bool _isLoading = false;
  String? _error;

  LoginViewModel(this._auth);

  bool get isLoading => _isLoading;
  String? get error => _error;

  Future<bool> login(String email, String password) async {
    _isLoading = true;
    _error = null;
    notifyListeners();

    try {
      await _auth.login(email, password);
      _isLoading = false;
      notifyListeners();
      return true;
    } catch (e) {
      _isLoading = false;
      _error = e.toString();
      notifyListeners();
      return false;
    }
  }
}
The widget becomes a thin layer that reads from the ViewModel and calls its methods.
Rule 2: Depend on Abstractions, Not Implementations
The ViewModel above depends on AuthRepository — an abstract interface. This makes it testable without a real server:
abstract class AuthRepository {
  Future<void> login(String email, String password);
  Future<void> logout();
}

// Real implementation
class RemoteAuthRepository implements AuthRepository {
  @override
  Future<void> login(String email, String password) async {
    await http.post(...);
  }
}

// Test implementation
class MockAuthRepository implements AuthRepository {
  bool shouldFail = false;

  @override
  Future<void> login(String email, String password) async {
    if (shouldFail) throw Exception('Invalid credentials');
  }
}
Rule 3: Accept Dependencies Through the Constructor
This is dependency injection at its simplest:
// ✅ Dependencies injected — easy to test
class LoginViewModel extends ChangeNotifier {
  final AuthRepository _auth;
  LoginViewModel(this._auth);
}

// In test:
final viewModel = LoginViewModel(MockAuthRepository());
Avoid instantiating dependencies inside classes:
// ❌ Dependency created internally — impossible to mock
class LoginViewModel extends ChangeNotifier {
  final _auth = RemoteAuthRepository(); // Hardcoded
}
Writing the Unit Test
void main() {
  group('LoginViewModel', () {
    late MockAuthRepository mockAuth;
    late LoginViewModel viewModel;

    setUp(() {
      mockAuth = MockAuthRepository();
      viewModel = LoginViewModel(mockAuth);
    });

    test('returns true on successful login', () async {
      mockAuth.shouldFail = false;
      final result = await viewModel.login('user@test.com', 'password');

      expect(result, true);
      expect(viewModel.isLoading, false);
      expect(viewModel.error, null);
    });

    test('returns false and sets error on failed login', () async {
      mockAuth.shouldFail = true;
      final result = await viewModel.login('user@test.com', 'wrongpassword');

      expect(result, false);
      expect(viewModel.isLoading, false);
      expect(viewModel.error, isNotNull);
    });
  });
}
These tests run in milliseconds, require no devices, and work without a network.
Widget Tests: Testing the UI Layer
For the widget layer, use Flutter’s testWidgets:
testWidgets('shows loading indicator while login is in progress', (tester) async {
  final mockAuth = MockAuthRepository();
  final viewModel = LoginViewModel(mockAuth);

  await tester.pumpWidget(
    ChangeNotifierProvider.value(
      value: viewModel,
      child: const MaterialApp(home: LoginScreen()),
    ),
  );

  // Start login
  viewModel.login('user@test.com', 'password');
  await tester.pump();  // Pump one frame

  expect(find.byType(CircularProgressIndicator), findsOneWidget);
});
Widget tests verify UI behavior without asserting on implementation details like HTTP calls.
Organizing Your Tests
test/
├── unit/
│   ├── auth/
│   │   └── login_view_model_test.dart
│   └── profile/
│       └── profile_view_model_test.dart
├── widget/
│   └── login_screen_test.dart
└── integration/
    └── login_flow_test.dart
Unit tests are fast and should cover all business logic. Widget tests cover UI behavior. Integration tests cover complete user flows and are run less frequently.
Running Tests
# All tests
flutter test

# Specific directory
flutter test test/unit/

# With coverage
flutter test --coverage
Conclusion
Testable code isn’t harder to write — it’s just structured differently.
The principles are straightforward: separate logic from UI, depend on interfaces, and inject dependencies. Each of these decisions, made consistently from day one, produces code that can be tested quickly, refactored safely, and understood by anyone on the team.
Start with one ViewModel. Write one test. The habit is easier to build than it sounds.